
A drawing is an important starting point for a custom plastic product, but it is not the entire manufacturing specification. Successful development requires agreement on function, material, critical dimensions, appearance, mold approach, testing, and production expectations.
1. Define the product requirement
Explain what the part does, where it is used, how it connects to other components, and what failure would mean. Include target market, expected environment, load, temperature, chemicals, outdoor exposure, appearance, and regulatory responsibilities known to the buyer.
This context helps the manufacturer interpret the drawing correctly. A dimension may be flexible for appearance but critical for assembly.
2. Prepare design files
Provide a 3D file when available, together with a 2D drawing that identifies critical dimensions, tolerances, material, texture, color, inserts, assembly interfaces, and inspection points. STEP files are commonly useful for editable solid geometry. Mesh files can help communicate shape but may not contain manufacturing-ready features.
If development begins from a sample or concept, clarify which features must be retained and which may be adjusted.
3. Review injection-molding feasibility
The design review considers wall thickness, draft, ribs, bosses, undercuts, parting line, gate options, ejection, shrinkage, weld lines, sink risk, and assembly. Design changes should be discussed before mold manufacturing because late changes can affect cost and schedule.
4. Confirm material and appearance
Material selection depends on function rather than a generic preference. Mechanical demand, temperature, impact, chemical exposure, outdoor use, finish, color, and cost all matter. Avoid selecting resin only from a familiar name without checking the application.
5. Define the mold and project scope
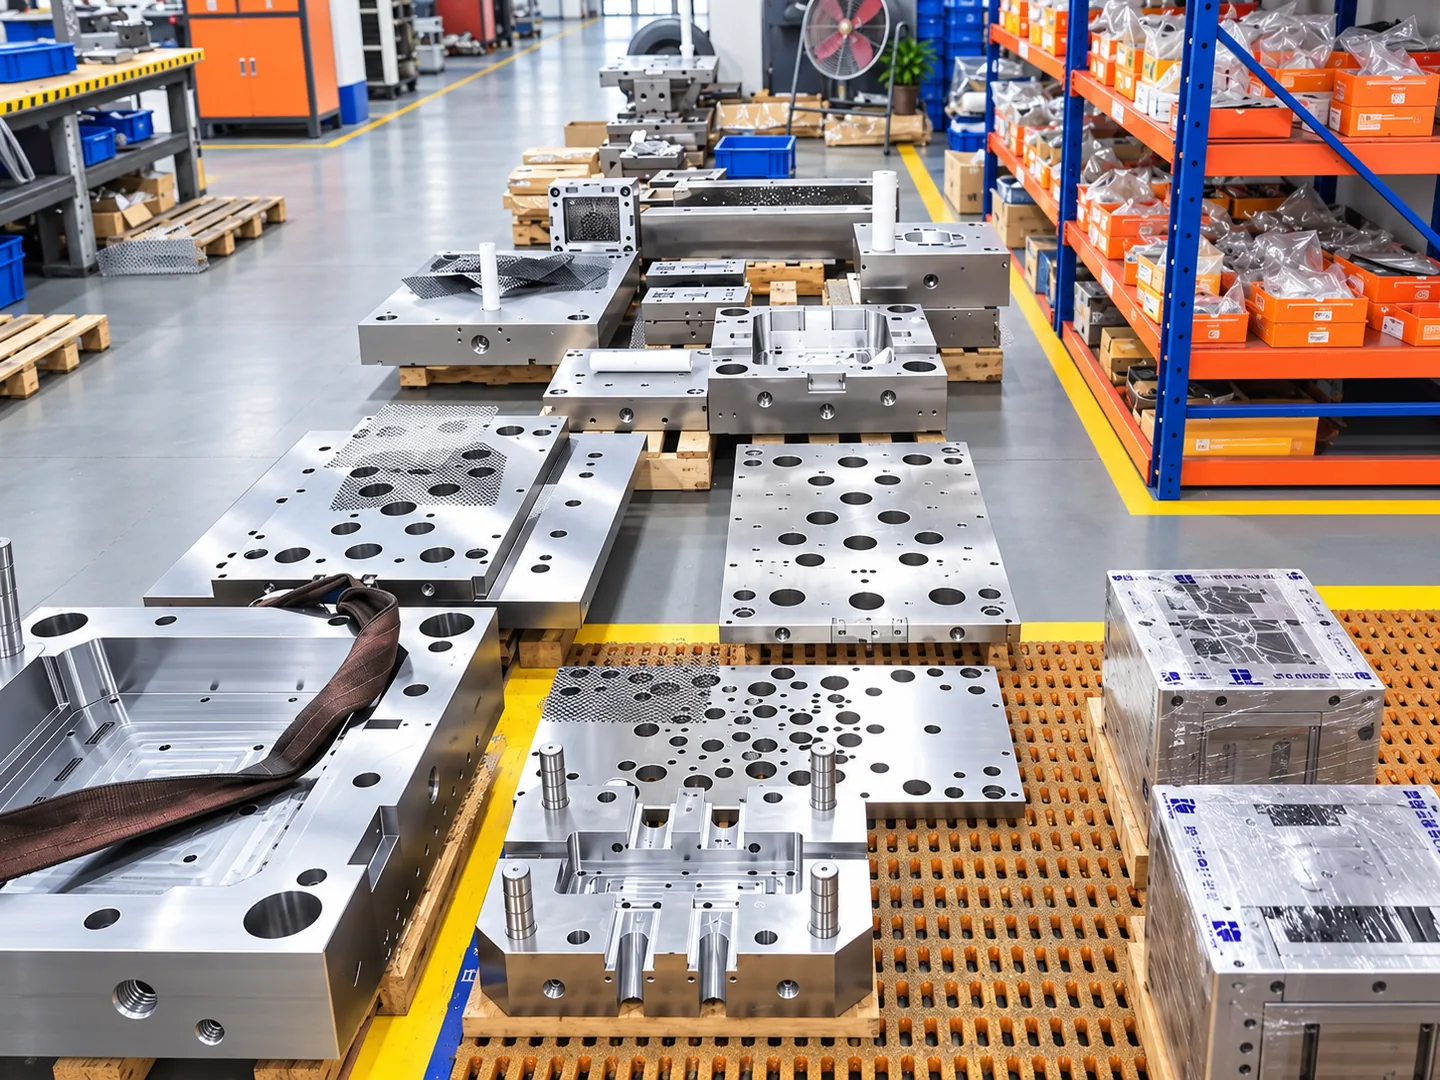
Confirm expected production volume, cavity approach, mold material expectations, insert or slider requirements, surface finish, sample stages, ownership, maintenance, packaging, and change-control process. The correct approach depends on the product and program; there is no single mold specification for every project.
6. Samples and validation
Initial samples are reviewed for dimensions, assembly, appearance, function, and identified risks. Feedback should be documented clearly. Changes may involve processing, mold adjustment, or product design, so responsibilities should be agreed before modification.
7. Production readiness
Before mass production, confirm the approved sample or specification, inspection points, color and appearance standard, packing, labeling, order quantity, and shipment plan. Keep revisions controlled so the factory and buyer use the same files.
Project information checklist
- 3D model and 2D drawing
- Product function and application
- Critical dimensions and tolerances
- Material and color requirements
- Surface, texture, or branding requirements
- Expected quantity and production forecast
- Sample and validation plan
- Packing and destination market
Clear inputs reduce quotation assumptions and help the manufacturer identify technical questions before mold work begins.
Questions to close before tooling approval
Before authorizing a mold, confirm who controls the current design revision, which dimensions are genuinely critical, what constitutes an acceptable sample, and how changes will be approved. Also clarify whether mating parts, inserts, labels, or packaging components will be supplied for trial assembly. A useful approval record includes the drawing revision, material and color reference, accepted sample status, open deviations, and the next decision owner. This discipline is especially important when several buyer, design, and factory teams participate. It prevents an approved visual sample from being mistaken for approval of every dimension or functional condition.
The most efficient custom projects do not eliminate questions; they expose important questions early. Buyers should expect the manufacturer to challenge unclear tolerances, difficult geometry, material assumptions, and incomplete test requirements. That discussion protects the production program and creates a more reliable basis for quotation than a drawing sent without application context.